How To Efficiently Encode Images
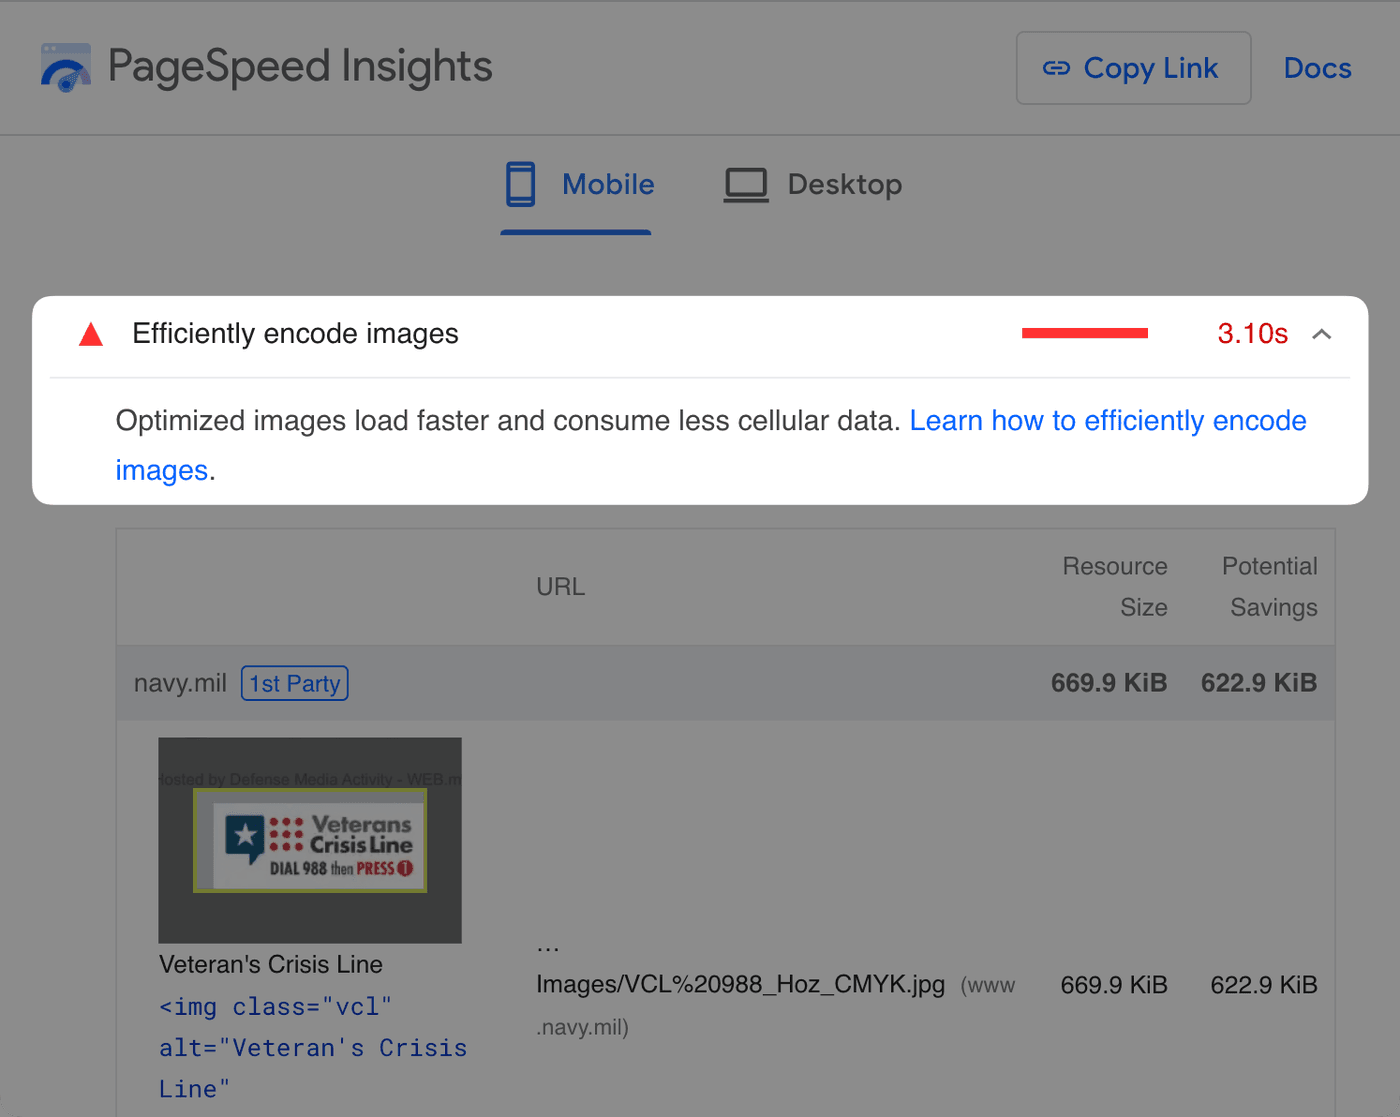
If you run a PageSpeed Insights or Lighthouse audit on your site, you might get an "Efficiently encode images" warning."
You'll get this warning if you have one or more JPEG or BMP images that could have been at least 4 KiB smaller using a compression level of 85.

Generally, you need to decrease the file size of your images by increasing their compression. Using compression with next-gen image formats will usually give you the best combination of performance and visual quality.
In this article, I'll explain your options for passing this audit.
Why does this matter?
As of July 2023, images are responsible for 40% of the total downloaded bytes when visiting the median website. And with most pages serving at least one image over 100 KB, reducing the file size of your images can mean:
- Faster load times
- Less cellular data that mobile users pay for
- More bandwidth available to download other assets on the page required for rendering
- Better Largest Contentful Paint times and perceptual performance
What is compression?
Compression is a technique to make a file size smaller by removing its data. There are two types of compression:
- Lossless compression: Removes redundant data to preserve the same visual quality.
- Lossy compression: Removes less important data to produce an approximation of the original image. Unlike lossless compression, increasing lossy compression can decrease the visual quality of an image.
Increasing compression in Squoosh leads to a noticeable loss of image quality.
Modern formats like WebP and AVIF typically outperform JPEG and PNG in generating smaller files with acceptable quality because they use more efficient compression algorithms. Their biggest downside is that they have less browser support, so you need a strategy to serve them.
| Format | Lossy or Lossless | Browser support |
|---|---|---|
| PNG | Lossless | ~100% |
| JPEG | Lossy | ~100% |
| WebP | Both | > 96% (See caniuse) |
| AVIF | Both | > 84% (See caniuse) |
To optimize images with compression, you must find the right balance between small file size and excellent image quality. A small file size means little if the image is too blurry or pixelated to see. And perfect image quality is irrelevant if it takes too long to download. At either extreme, the user won't see the image. There needs to be a balance.
So how do you compress images?
How to efficiently encode images
Option 1: Manually compress each image
If your site has a small number of images, you can use a tool like Squoosh to manually adjust the image's format (taking into account compatibility issues) and compression level.
An example workflow with Squoosh where a compressed AVIF image is saved.
Ironically, while manually compressing each image one by one can produce small and efficient images, the process itself isn't efficient, can take a lot of time, and is easy to forget. Because of that, I only recommend manual compression for simple sites with few images. Otherwise, using automation is preferable.
Option 2: Compress images automatically
A step up from manually reviewing each image is to let a tool, library, or plugin do it for you. A drag-and-drop tool like ImageOptim (only for Mac) can compress multiple files using either lossy or lossless compression.
An example workflow with ImageOptim where a compressed JPEG image is saved.
If you have a CMS like WordPress, an image optimization plugin that converts to modern formats and compresses uploads can work.
For people who don't mind writing code, an image optimization library like sharp used in a build script is another popular option.
Option 3: Use an image CDN to handle everything
My favorite way to optimize websites with many images is with an image CDN.
Image CDNs are typically not free, but they can take a lot off your plate while reducing the size of your images by 40-80%. They can:
- Choose the best compatible format (AVIF, WebP, JPEG)
- Transform and optimize with great compression automatically
- Serve images close to your users to minimize latency
In short, image CDNs specialize in making images fast.
One of the best parts is that you probably don't have to do a huge
migration process to start using one. Many offer the option to keep
the images hosted on your server (unless you'd prefer to move them to
their server). For example, look at the following img tag:
<img src="https://res.cloudinary.com/demo/image/fetch/w_500/f_auto,q_auto/https://upload.wikimedia.org/wikipedia/commons/1/13/Benedict_Cumberbatch_2011.png" alt="Photo of Benedict Cumberbatch" width="500" heihgt="616"/>The URL in the src attribute will:
- Make a request to Cloudinary's server
(
https://res.cloudinary.com...) - Ask Cloudinary to automatically pick the best compatible format
(
f_auto) and quality (q_auto) at a resized width of 500 pixels (w_500) - When Cloudinary gets the request, it will fetch the original image
from
https://upload.wikimedia.org...
That image is stored on Wikipedia's server — not on Cloudinary. You'll
see the result if you copy and paste this URL into your browser. You
can even change the w_500 to another number to see it dynamically
resize.
Visiting an address of an image whose width, quality, and format is transformed by Cloudinary.
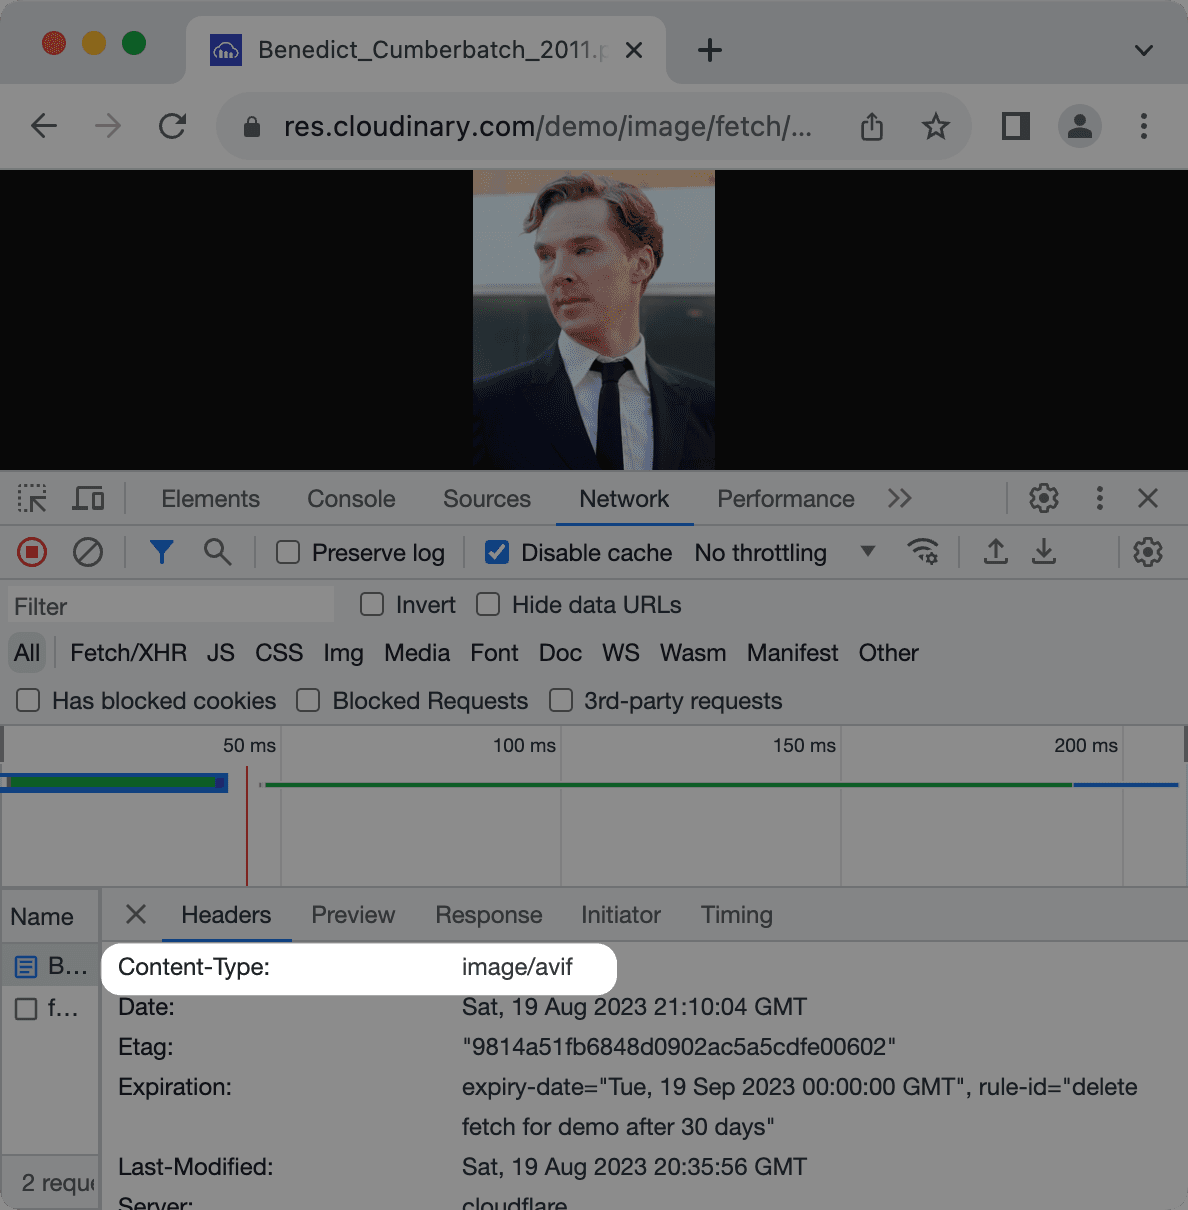
And although the original image was a PNG, Cloudinary sent back an AVIF with better compression by using content negotiation:

There are many image CDNs out there. Your website may already be on a CDN that offers an image optimization service. Some of the more popular image CDNs include:
Conclusion
Picking the proper format and compression level results in faster loading images and a better user experience. Whether using manual tools like Squoosh or automation via libraries, plugins, or image CDNs, these strategies ensure a faster, visually appealing, and user-friendly website.
